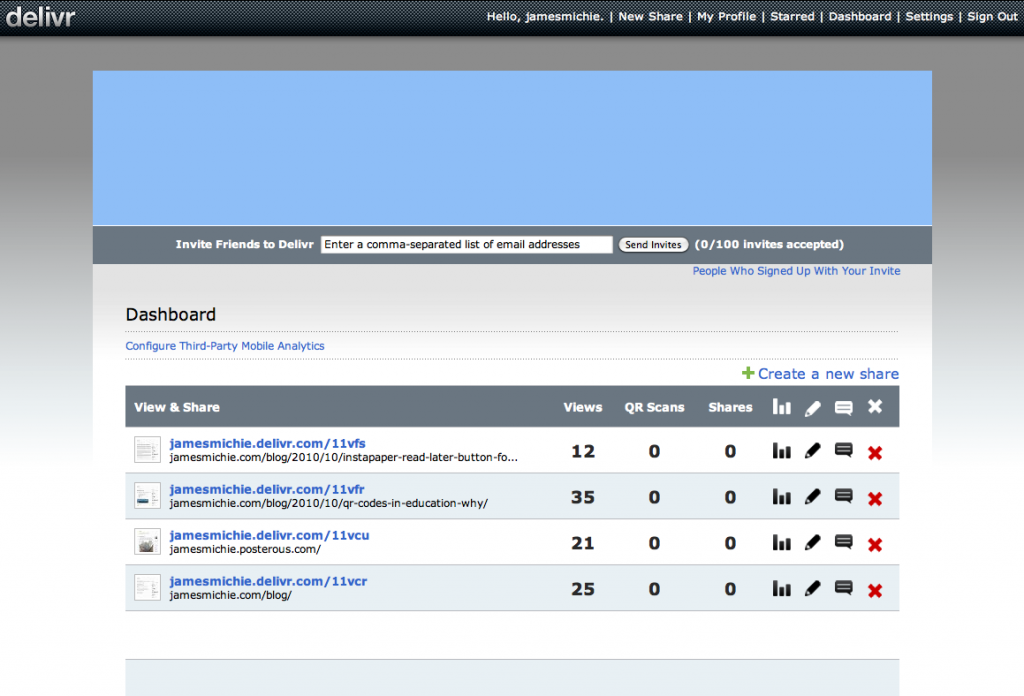
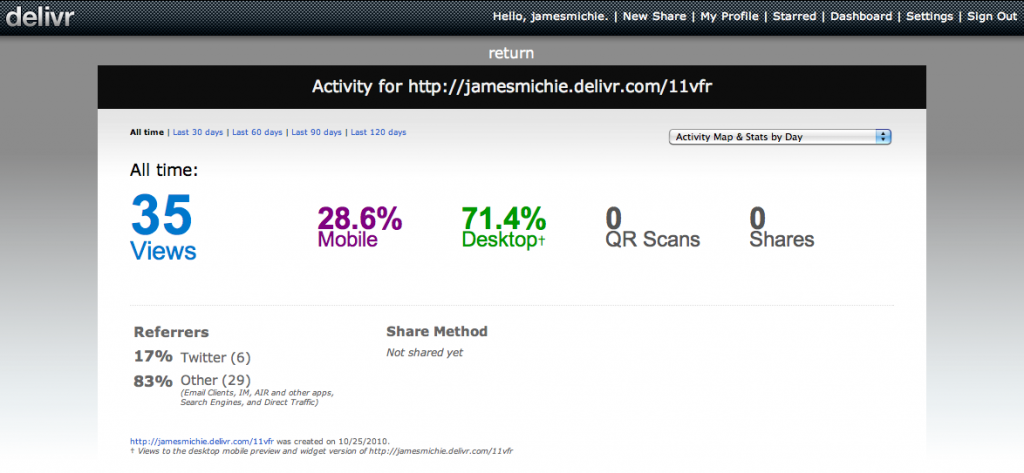
I started this blog one year ago today. When I published the first post I was very unsure about whether I would be able to commit to blogging on a regular basis but now can’t imagine not doing it. It has become an extension of my brain – a place where I can explore ideas; share experiences and reflect on my learning. As an educator the learning never stops and a blog (IMO) is the best way to document and focus the learning experience. Along the way I have learned a lot about blogging and so I’ve decided to share some of what I’ve learned, today, on my blog’s birthday. Here goes:
1. It’s what you write that matters
The most important feature of your blog is what you write. I know that this sounds obvious but I can attest to the fact that it is easy to get bogged down in worrying more about the look and feel of your blog than the content you are putting out. My advice? Find a blog theme that is clean and offers your readers a clear reading experience. Stick to sans-serif fonts and a high level of contrast between the text and your blog background. Don’t obsess about images, buttons and other features. Focus on the writing and the rest will follow. After all, the people who will become regular readers of your blog will not care about the way your blog looks. In fact the people who become return visitors will probably subscribe by RSS and therefore not even read your blog via your actual site. Pick interesting topics to write about. Find your own writing style. And don’t be afraid to borrow from others while you are finding your own voice.
2. It’s okay to post at your own pace
Starting a blog can be intimidating. Particularly when you see that some bloggers post at least once a day, sometimes more. I originally set out thinking that I would blog at least five times a week but I quickly realised that for me this was unrealistic. I have settled into a far more organic rhythm publishing an average of six posts a month. How often I post is affected by a number of factors but mainly by my workload.
I write when I feel compelled. I shelve posts occasionally to let them simmer, returning to them with a clearer sense of what I wish to convey. Sometimes an idea for a post will go from first draft to published post in less than a couple of hours. Other times they will go through multiple drafts until I am happy. Remember that quality is far more important than quantity. If you would like to know more about my writing process and how I find focus check out the following two posts:
3. It’s important to post material that is provocative (from time to time)
I’m not suggesting here that you set your stall out to… but it will come as no surprise that many of my most read posts are the ones that were a little contentious, that focused on challenging issues where others will certainly have an opinion. And it is also good to pick up on topics that are being readily discussed. Here are some examples of posts that caught fire:
- A Very British Education
- May You Be Present Here and Now
- Design as Teaching
- Google Docs in the Classroom – Part 2: Collaboration
- QR Codes in Education: A Burgeoning Narrative
- Gove + Zuckerberg = Elitist Victorian Education 101
4. Make sure your about page is up to scratch
The about page on your blog is arguably one of the most important pages as many new readers who come across your blog will want to know more about it and the person behind it. Who are you? Why do you write this blog? How often can they expect to see new posts? These are just some of the questions a new reader may have. I am working on improving my about page at the moment, using this guide.
5. Minimal design helps your readers to focus on the content
I am at heart a minimalist. If this was nothing more than a personal journal it would probably look more like this. However, this level of minimalism is a step to far (less?) for my blog which is as much an online portfolio as it is a reflective journal. Therefore, I have found a compromise, balancing minimalism with important features that help my readers navigate my blog and hopefully keep them there. These include static pages listed in a menu under the header, a range of methods for readers to find interesting posts including: categories, tags, recent posts and a blog archive. I currently use the WordPress theme: Plainscape, which I have tweaked to my liking adding a few unique features, but these are minor and took very little time to put in place.
6. Harness social networks to spread the word
If you wish to grow the number of visitors to your blog you must harness the power of social networks. Twitter has been one of the most powerful tools in driving people towards my blog content and had helped connect me with many other bloggers who share similar ideas and write about similar topics. This has helped me to develop my blogging practice while also giving me a network who read and retweet my blog posts. I use Feedburner to manage my blog feed and Twitterfeed to autopost it to Twitter. After more than a year of sharing my disdain for Facebook, I have reneged on my principles, reactivated my account and established a Facebook page for my blog, here’s why.
7. Remember it’s not all about you
Let your readers know what blogs you like to read, this is very easy to do as most blogging platforms include a blog roll feature. I also use a range of tools including Google Reader, Delicious and Amplify to share things that I have been reading and I feel will be of interest to the people that read my blog. To make it easy for them to find this information I have installed the Lifestream plugin and generated a page on my blog to display this information.
8. It is about discussion
Most bloggers are looking to generate discussion around their posts. This is what the blogging thing is all about and it’s really important that you respond to comments from people. I would advise that you install the Disqus commenting system to your blog. It offers a wide range of management features for comments on your blog allowing anyone to log in and comment on your blog while being an effective tool in blocking spam. I try to reply to comments within 24 hours although occasionally life gets in the way.
The commenting does not end there though. As I have already made clear, it is not all about you. If you want to drive people towards your blog and encourage them to comment on your own posts then you must comment on other people’s blog posts. It raises your profile amongst the blogging community and will encourage people to look up your blog when they have seen you comment on their own posts. Be careful though and avoid committing any commenting faux pas, use this post as a guide about what not to do when commenting on posts.
9. Understand SEO and analytics
Without going into too much detail, if you are serious about blogging and see it as more than an opportunity to collect your thoughts then it is worth taking a bit of time to understand ‘Search Engine Optimisation’. In very basic terms this is making your blog more visible to search engines like Google. I could end up writing an entire post on this and only scratch the surface in many ways. Instead I will simply say that this post is a good place to start and if you are using WordPress then you can make a decent start by installing the following two plugins: All in One SEO Pack | Google XML Sitemaps
To really get a handle on how your blog is doing it is also worth signing up to Google analytics. Again there is a very handy WordPress plugin to help with this.
10. Learn a little HTML
This one is going to be a bit geeky but for that I make no apologies. When it comes to my blog I decided from the outset that I was not going to compromise when it came to way that my blogged worked and looked. I knew that if I was going to really have control of my blog I needed to learn some of the basics of HyperText Markup Language (HTML). Having started this blog initially on Blogger there were not as many features in the editing window as WordPress and one thing that niggled me about my posts was that links would open in the same window. This resulted in me learning my first bit of HTML. To get the links I was including in posts to open in a new window I learned to add the following HTML tag: target=”_blank”. From there I gradually learned more HTML so that I could effectively tweak my blog’s theme and code my own buttons in both my blog’s sidebar and under each post. I have blogged and shared the HTML/Javascript for two buttons that I addapted the code for:
This site is an excellent place to start learning HTML and it allows you to test out your code before you go and try it on your blog.
And with that I will bring this post to an end. I’ve thoroughly enjoyed the last twelve months of blogging and I’m very excited about the next twelve. I’ve got some fantastic projects underway at the moment and I’m also right in the middle of my MA, so expect lots more posts over the next few months!
—
Image: inf3ktion on Flickr

