I’m taking a break from writing a post about QR-Codes to share a little HTML and offer my first impressions of Delivr – a new tool that has been making the rounds on Twitter this past week. In a nut shell, Delivr combines the URL shortening/tracking services of a bitly.Pro account with a QR-Code generator such as qrcode.kaywa.com and then adds a couple of extra functions for good measure.
For those of you who have not heard of Delivr or have not tried it yet, here is a brief look at what it offers.
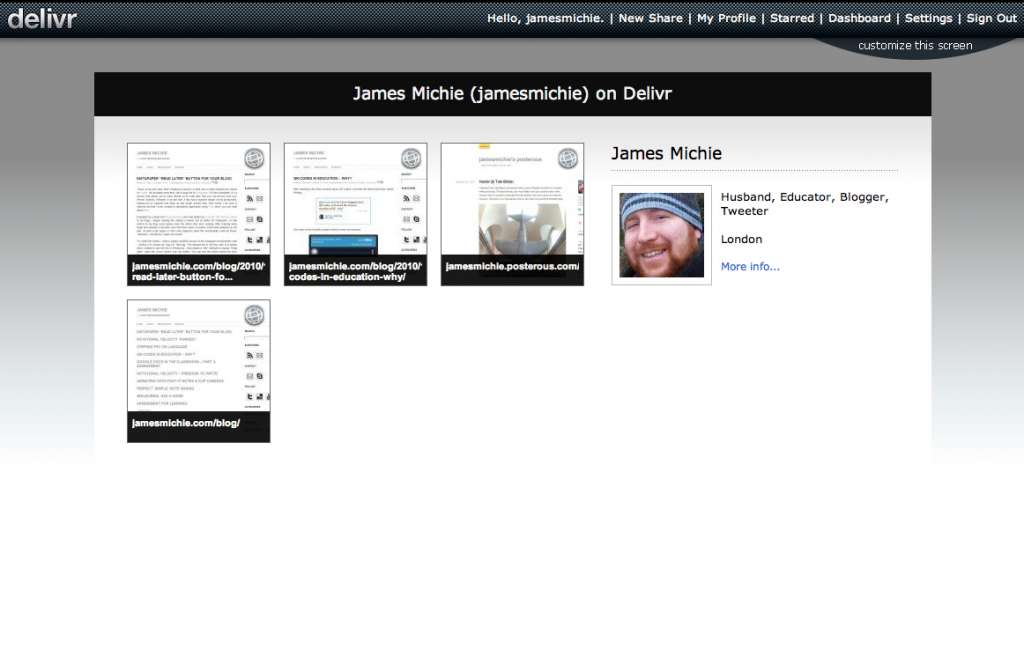
Signing up to Delivr gives you a variety of features including a profile page. However, unlike many other URL shorteners, rather than a simple text based list of the links you have shared, you get a series of thumbnails. I like this a lot as I am a big fan of the visual web. What’s more, it potentially offers a unique opportunity to share a series of links in a quick and visual way. For example you could create an account for a presentation and have all of your links on one page. This could then be shared with everybody in one go by displaying or tweeting a single URL. Others can easily share the links and when you load each one up their is a QR-Code that people can scan. I think this could be a very interesting way to present and with some events coming up early on next year I may give this a go.
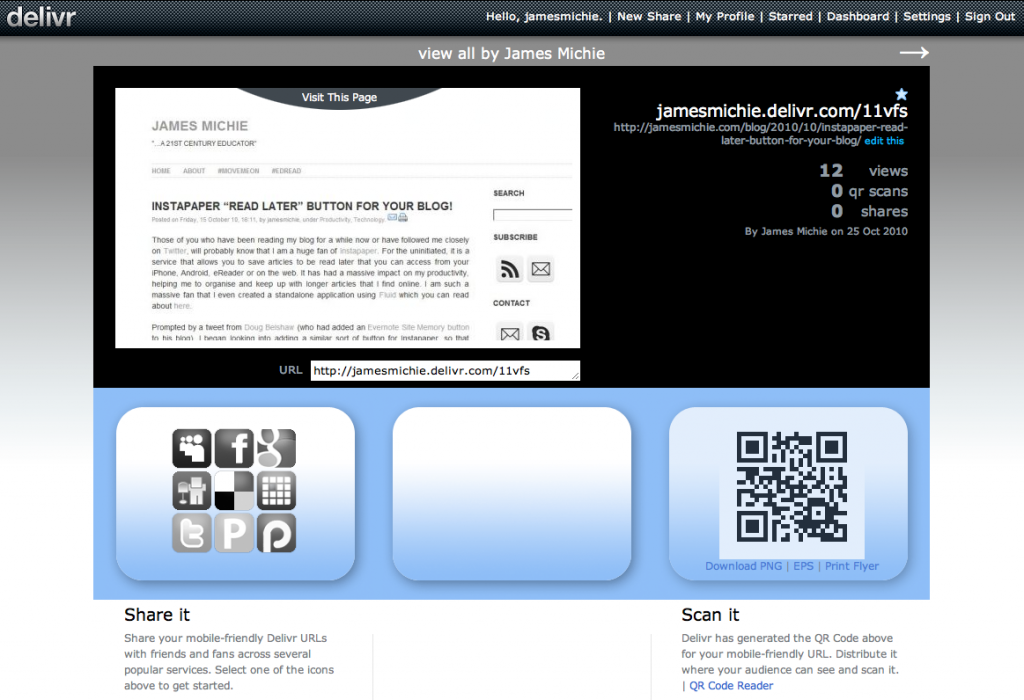
Each link that you share also gets a unique page as part of your Delivr account (indicated by an asterisk at the end of the URL). This page is mobile friendly and contains a variety of useful material. In the top left of the page you there is a good sized preview of the link you have shared. In the top right you can see the URL of the link. The link is made up of two parts – your profile name and a Delivr short URL. You can choose to share the whole thing or simply remove your profile name and just share the short URL. For example, both of these URLs work and will take you to the same page: http://jamesmichie.delivr.com/11vfs or http://delivr.com/11vfs.
In the bottom left of the page there is a pannel that allows you to share to multiple places including Twitter and Facebook at the click of a button, meaning you do not need to open a new tab. In the bottom right of the page their is the QR-Code that has been generated. Below it there are a few options as to what you can do with the QR-Code. It is here that Delivr goes a bit further than qrcode.kaywa.com in that the QR-Code features are more extensive. Firstly, you are not as limited in how much text you can embed inside the QR-Code and Delivr also does some funky things with Flickr images, YouTube videos and Google maps.
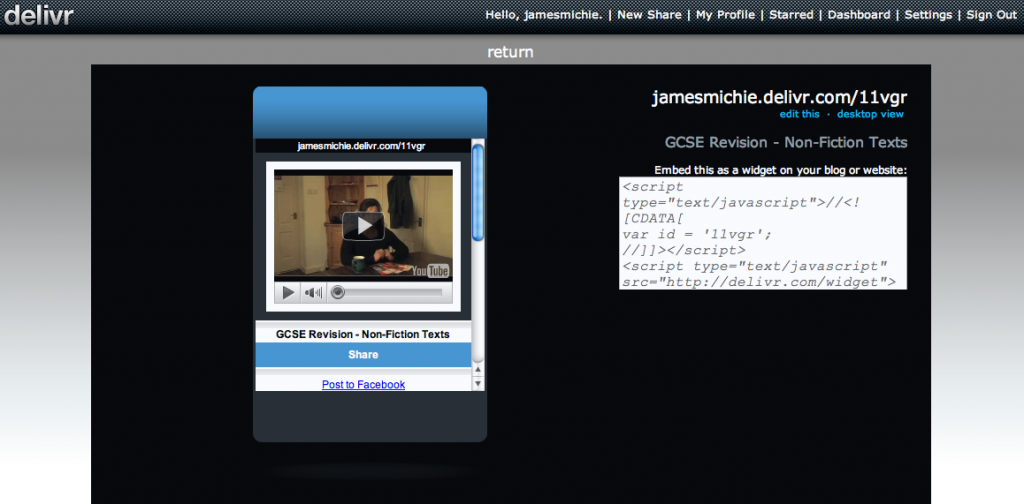
Here is an example of a YouTube video I have shared with Delivr. Not only can I share the short URL and get a JPG of the QR-Code but I can see a preview of how it will display on mobile devices:
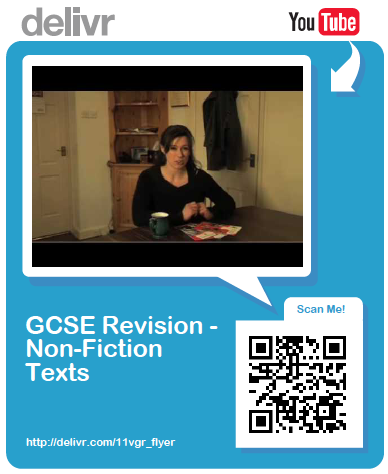
You can also embed the mobile view on a blog or website as a widget and you can print out this handy flyer with the QR-Code featured on it:
Included on the flyer is a still shot from the YouTube video and a description of what the video is. This is great for sharing info at school as the flyer exports as a PDF which can then be embedded on a blog/website, uploaded to a VLE or printed to be displayed in classrooms. I will be definitely making use of this feature in the coming months in both English and Media Studies.
Other features that you get from signing up to Delivr are very similar to those offered by bitly.Pro.
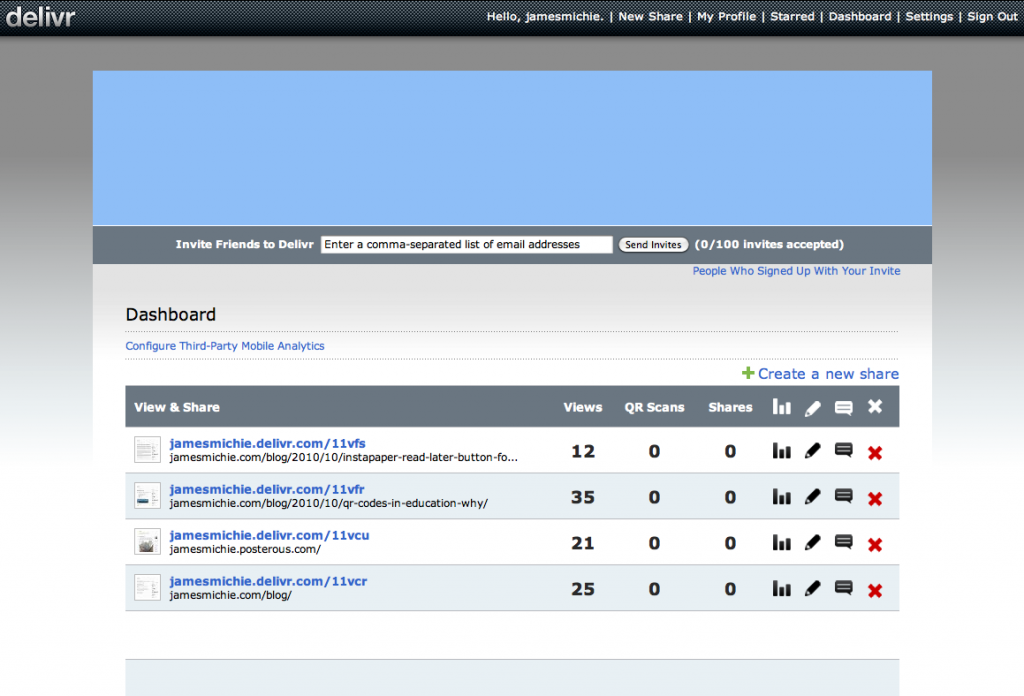
You have access to a dashboard which lists all of the links that you have shared. From here you can manage your shared links with the ability to delete, edit, read comments and access analytical data. Also, there is an RSS feed of your shared links and you can export all of your data stored on Delivr as an excel file.
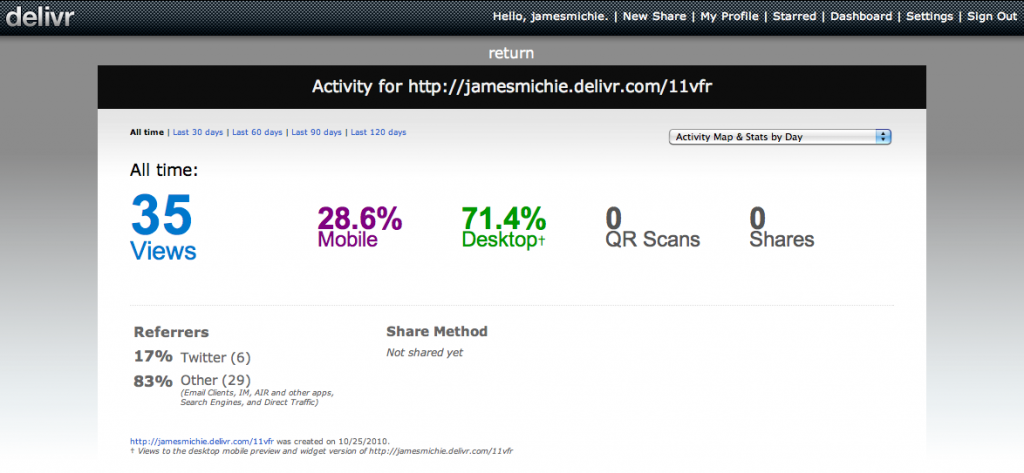
The analytivcal information is useful giving you a clear picture of how the links have been accessed, shared and if the QR-Code has been scanned. As I begin to explore the use of QR-Codes more readily this information will be very helpful.
Another potentially useful facet of Delivr is that people can follow your account in a very similar way to following someone’s Delicious account, where by you can see an updated list of links that have been shared. Further features include the ability to host your Delivr account under your own domain and to personalise your profile page with extra information and a background image – making the Delivr experience even more personal.
What’s more the web based interface has been extremely well thought through formatting itself perfectly on my HTC Wildfire. I could browse mine and others shared URL’s with ease, follow back friends who had begun following me and re-share links straight to Twitter, via Email or bookmark to Delicious. Once again, as with many apps, it is ease of use that will keep me coming back, particularly as I am using my phone more and more to access the World Wide Web.
Delivr works well via the web based interface but even better via its handy bookmarklet which you can drag to your bookmarks bar in your browser. This allows you to share links directly from the page that you are on while surfing the web.
Having been instantly impressed, I wondered if I could add a button to my blog so that people could use Delivr to share my posts without leaving the post page. I took a look at the code and saw that it was very similar to the code used in the Instapaper Bookmarklet. As I did with Instapaper, I adapted the bookmarklet code and then found an image to act as a button. In this case I used Delivr’s Twitter Logo as the image source reducing it to 32 x 32 pixels. You can see and use the button at the top right of this post. If you would like to add the button to your own blog then grab the following code:
<a href="javascript:%20var%20newscr%20=%20document.createElement('script');%20newscr.setAttribute('language','javascript');newscr.setAttribute('src','http://cdn.delivr.com/js/bookmarklet.js');document.body.appendChild(newscr);%20var%20newcss%20=%20document.createElement('link');%20newcss.setAttribute('type','text/css');newcss.setAttribute('rel','stylesheet');newcss.setAttribute('href','http://cdn.delivr.com/css/bookmarklet.css');document.body.appendChild(newcss);void(0);"><img src="http://jamesmichie.com/blog/wp-content/uploads/2010/10/Delivr.png" alt="Share with Delivr" title="Share with Delivr" /></a>