It is almost three months since I took delivery of a Refurbished 11″ MacBook Air and I can confidently state that it is the best laptop I have ever used – lightweight but robust, elegantly minimal, powerful and fast.
Taking inspiration from my favourite podcast, I’m going to discuss why the Air is more than enough Mac for me, focusing on how I’ve set it up; the apps I’ve installed; modifications I’ve made; and what it’s like using and writing on Apple’s smallest laptop.
Setting up
To begin with I took a leaf out of Patrick Rhone’s book and completed a fresh install, excluding the additional languages and the majority of iLife applications (only keeping iTunes to manage music and podcasts). This saved me almost 8GB’s of space on the SSD. My intention from the outset was to use the Air for a minimal set of purposes: writing, reading, browsing and communicating. As such, I have no need for a photo management application and certainly don’t need audio and video editing tools.
Third party apps and utilities
Listed below are the only applications that I have installed. The first eight were tools that I use regularly on my MacBook Pro and I knew that I would want them on the Air. The last five apps I’ve installed as I needed them or learned about them.
- nvALT – The best note taking/writing app ever, here’s why: Perfect Simple Note Making; Notational Velocity – Freedom to Write
- Jumpcut – Minimal (text only) clipboard that sits in the Menu Bar
- Chrome – My browser of choice and the only way Flash gets anywhere near my Mac!
- Twitter – My preferred Twitter app
- Sparrow – A mail app that’s minimal, utilising a similar UI to Twitter for Mac
- Dropbox + MacDropAny – Keeping all my files in sync
- Evernote – Used to organise my reading and notes for my MA
- Caffeine – A useful Menu Bar utility that stops your Mac from going to sleep
- Skype – For those face-to-face conversations
- Kindle – I have this on both my MacBooks and my Android phone, keeps my reading in sync
- Pages – For typing up and formatting MA papers
- DoublePane – A Menu Bar utility that allows you to split the screen between two apps
- Reeder – Synced with Google Reader, I’ve only recently added this but I’m loving the minimal UI and range of built in services.
A little tweaking
As I’ve done with every Mac that I have owned, I made some modifications to some of the built in features.
- Caps Lock – I turn caps lock off on my Macs, I never use it, and it’s more than a little annoying if you catch it by accident.
- Expose and Spaces – Both turned off as I never use them, I’m a one app at a time guy.
- Dashboard – Turned off, it’s a huge drain on CPU/RAM and again I never use it, here’s how I did it:
- In terminal type the following command and hit return: defaults write com.apple.dashboard mcx-disabled -boolean YES
- Then type the following and return: killall Dock
- This will have turned off dashboard entirely, if you try to hit F12 to start the dashboard nothing will happen.
- Dock – Hiding is turned on, positioned on the left and pinned to the bottom, here’s how:
- First position the dock on the left. Then open terminal and type the following command and hit return: defaults write com.apple.dock pinning -string end
- Then type the following and return: killall Dock
- The dock will now be pinned to the bottom left of the screen.
- I also restyle the dock removing the 3D glass effect. I prefer the classic 2D version, here’s how I did it:
- In terminal type the following command and hit return: defaults write com.apple.dock no-glass -boolean YES
- Then type the following and return: killall Dock
- You should now see a classic 2D dock.
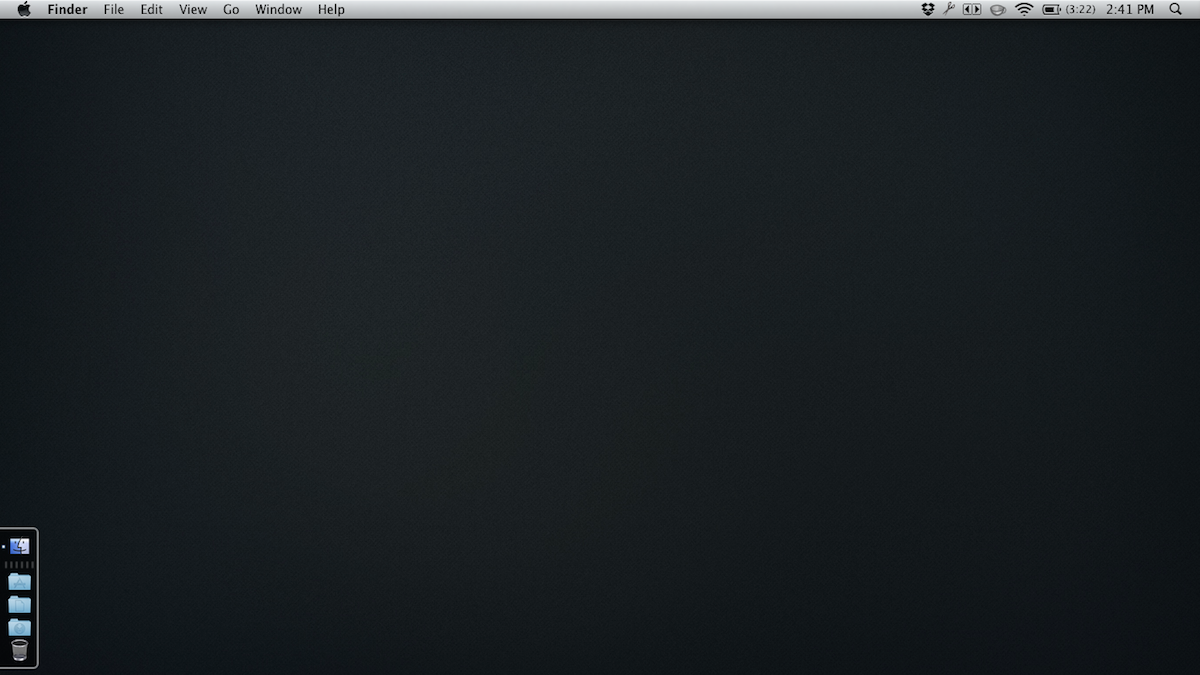
- Menu Bar – I remove any icons that I feel are not necessary, here’s what my Menu Bar looks like:
- Trash – Set to delete without confirmation.
What is it like living with 2GB RAM, 128GB HardDrive and an 11″ Screen?
A breeze! The Air cold boots in 12 seconds flat and apps open so quickly, if you blink you’ll miss them loading altogether. While I don’t do it very often, having multiple apps open has little impact on performance and switching between apps is instant. Because of my one app at a time approach the battery last as long as it says on the tin, regularly giving me four to five hours. What’s more the instant on/off feature ensures that…
In terms of storage, the one additional purchase I made when I got the MBA was a G-Drive Mini (500GB) external hard drive, this is where my iTunes Music folder is hosted as well as storage for Time Machine back-ups. As such the 128GB hard drive has barely been hit, as of writing this I still have 108.35GB available. I’m starting to think, based on my setup, that the 64GB model would have been enough.
The one feature that seems to have caused issues for some Mac users is the small screen size. However, I find the 11″ screen to be more than ample for my needs. As I use several apps (including nvALT) in full screen mode, the 11″ screen has little impact on the what I’m doing. It’s barely a compromise when considering the speed and portability that the Air offers.
And what about the writing?
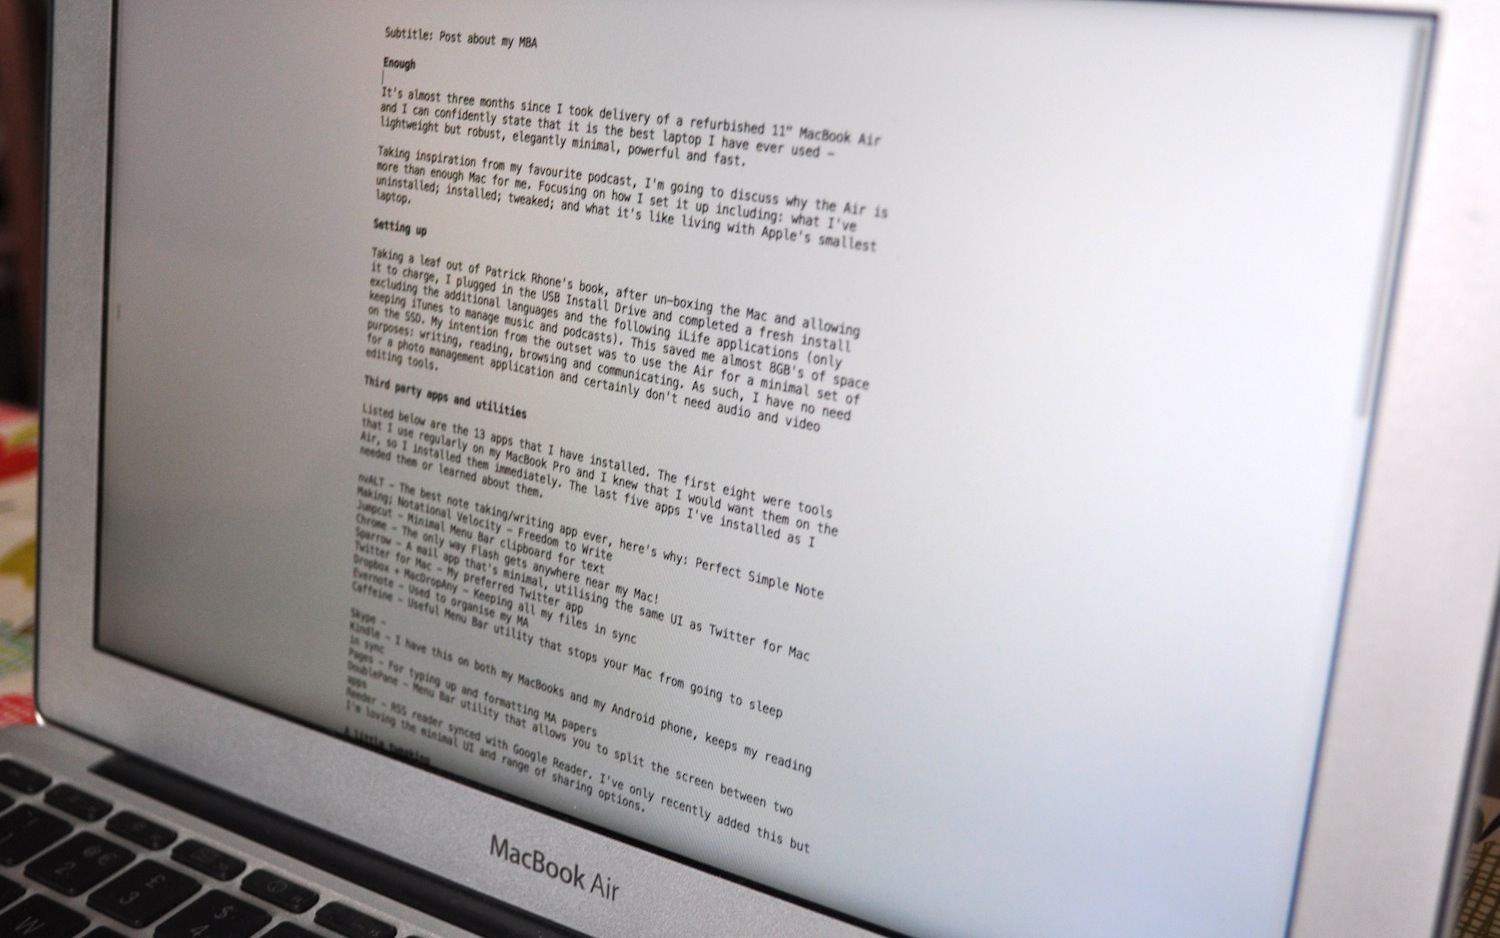
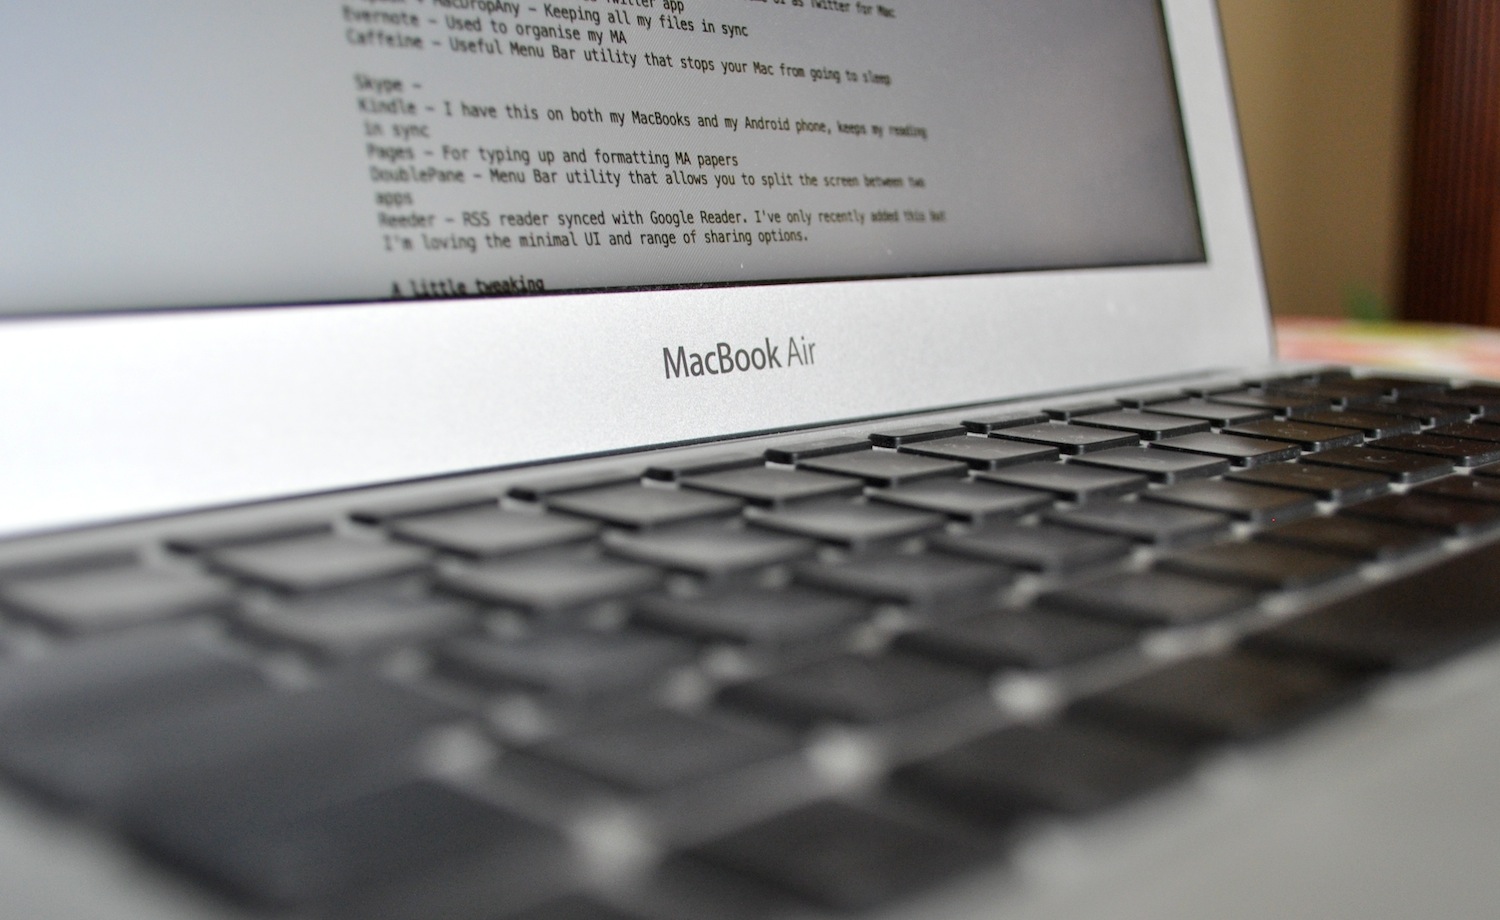
The primary reason for purchasing the MacBook Air was to have a dedicated writing/blogging machine. I have been more than pleased with the way that the Air has served this purpose. Since taking delivery of it, I’ve written every blog post and my last MA paper on it. With a full size keyboard included I haven’t seen a single difference between typing on the Air and the MBP. The keys sit slightly lower but they make the same wonderful ‘clickity clack’ that I’ve come to love. Other MacBooks that I’ve owned have simply not been comfortable to use when rested on my lap but the Air is so light I can literally sit anywhere (sans-desk) and write comfortably. Combine that, the portability, and the focus that nvALT (in full screen mode) offers and it’s no surprise that I’m getting the writing done with far less friction.
The final word
The MacBook Air is light, minimal, perfect for writing, browsing, and communicating. It’s definitely more than enough!
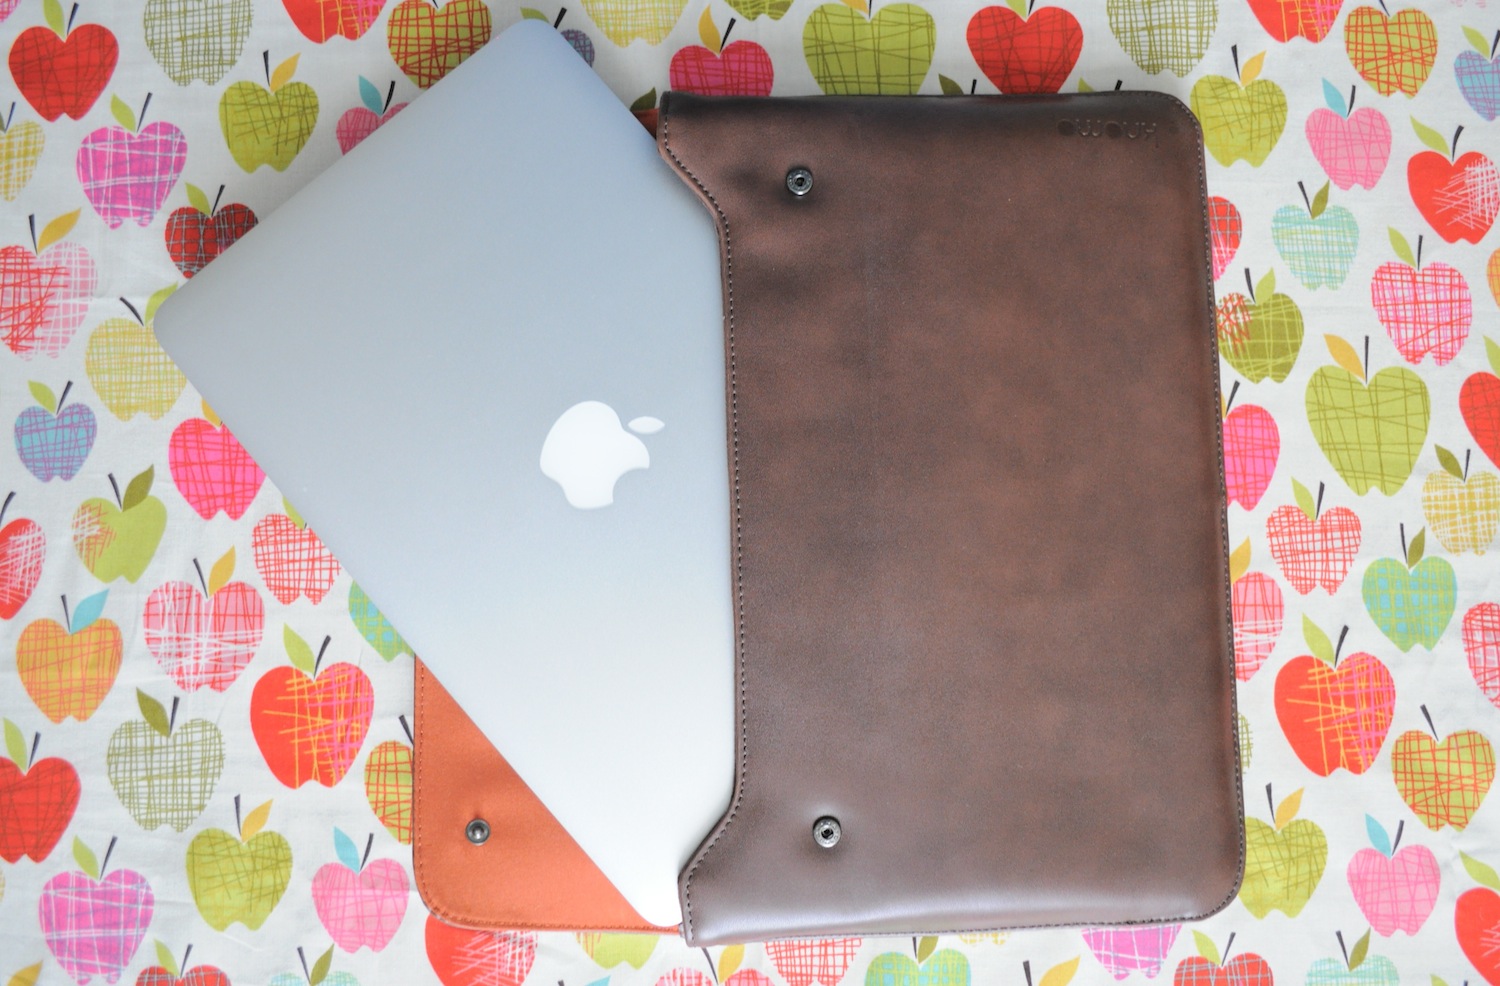
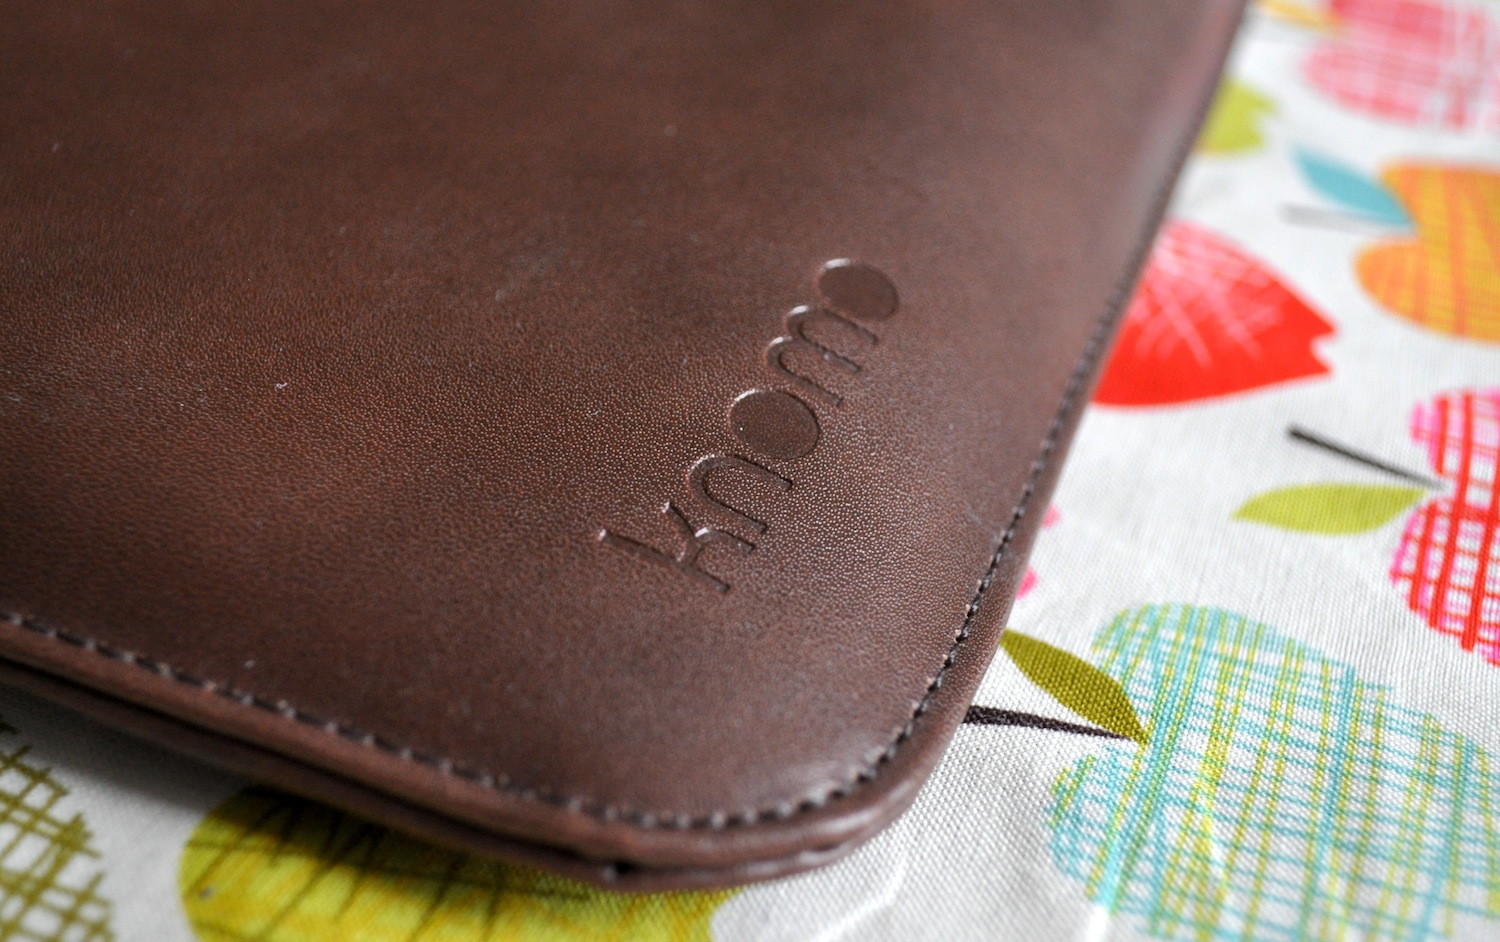
Here’s a little eye candy… the bag is a Knomo MacBook Air Envelope.
Great stuff, James, and with some really useful command-line tips I didn’t know about. Thanks.
Just to say that if you use Monolingual (http://monolingual.sourceforge.net) you don’t need to do a clean install. 🙂
Thanks Doug. I’ve used Monolingual on other Macs but as I knew in advance that I wanted to remove most of iLife, I felt it was more efficient to complete a clean install.
It’s a great tool though, helped me save space on my crowded MacBook Pro. 🙂
Enjoyed reading about your experience with the MacBook Air. Am thinking one of these will be my next computer. Thanks for sharing this. Also enjoyed the section about tweaking… I now have Dashboard turned off… 🙂
Thanks Tim, I’m glad you found it useful. 🙂
Hi James,
Potentially a stupid question, but I’ve been having a bit of a look at Notational Velocity this morning. Looks good, but I wasn’t sure if it would be duplicating functionality I already have with Evernote.
What’s the obvious thing I’m missing that means I should be running both?
Tim
Not a stupid question at all. This comes down to a personal philosophy more than anything else and also my love of markdown: http://daringfireball.net/projects/markdown/.
First the philosophy: I’m a huge believer in the ‘one thing well’ philosophy. As such, I don’t really believe in ‘everything buckets’ which Evernote can become. Evernote offers a robust way for me to organise my MA – notes from lectures, seminars, reading etc.
Notational Velocity on the other hand is for the rest of my writing – blog, todo lists (I use a txt file rather than a todo app) half-formed ideas and snippets of text that I want to hang on to.
Simply, for me, this is a separation exercise. Evernote offers functionality that is useful to research. NV is simply my writing app of choice – full screen mode offers the focus I need to get the writing done.
Often, the writing I am doing is related to my blog. I have been learning markdown (link above) which is a HTML shorthand, that once you have a grasp of it, allows you to prepare blog posts offline with everything bar pics already formatted, links included. Using a WP plugin: http://michelf.com/projects/php-markdown/, I can copy and paste my writing (including markdown) from NV direct to WP and it is ready to publish, other than adding pics if the post calls for it.
This sounds a bit complex but once learned it is so much easier than HTML which is really long winded. I don’t believe in writing my posts using the online editor, it’s an idiosyncratic thing.
In a totally non-minimal way, I hope that answers your question. 🙂
Thanks, got it…
Markdown looks great, going to play around with that over the next couple of weeks along with NvALT. While listening to the Minimal Mac Podcast. Good set of recommendations!
Great! When I replied previously I forgot about this great video: http://vimeo.com/21640629. Really helped me learn the syntax quickly. 🙂